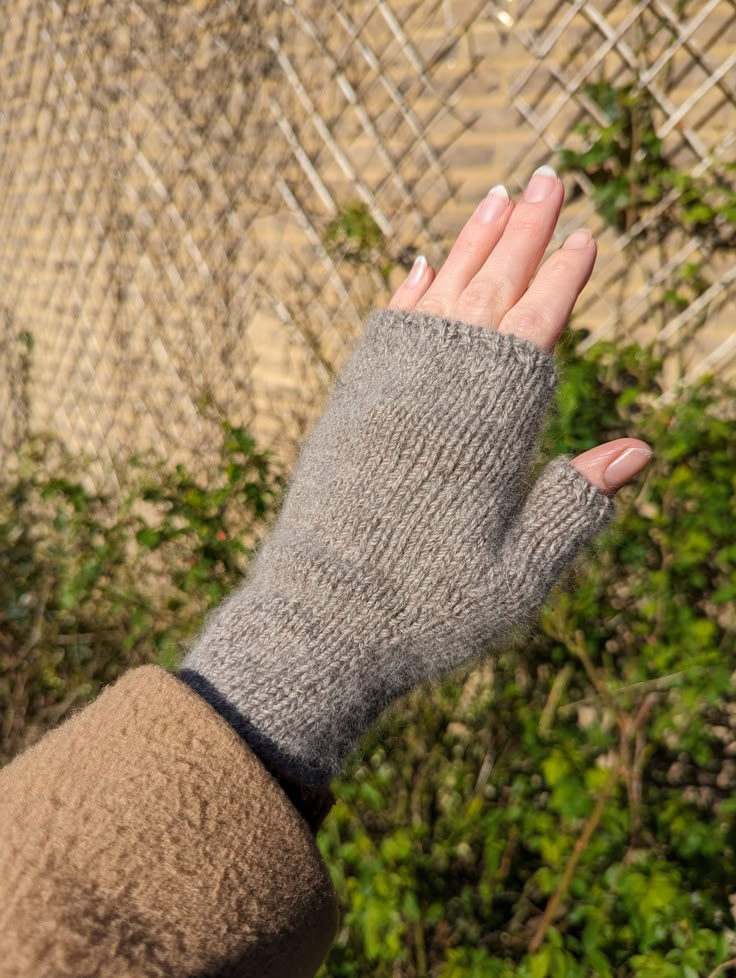
Knitted Fingerless Mittens
Whether you're looking to keep your hands warm while typing away on your computer or adding a cozy accessory to your outfit, knitted fingerless mittens are a perfect choice. With their charming style and practical design, these mittens offer a delightful solution to chilly days. They are not only cute but also keep your hands toasty while allowing your fingers to remain agile and free. Plus, they come in all sorts of colors, patterns, and textures, so you can easily find a pair that matches your unique style and personality. Don't let the cold weather cramp your style, slip on a pair of knitted fingerless mittens and embrace both warmth and fashion!
The Details:
Sizes: XS (S, M, L, XL) (XXL)
Free Fingerless Mittens Pattern
Hand diameter: 6 (7, 8, 9, 10) (11)” / 15 (18, 20, 23, 25) (28) cm
Hand length from base: 6.25 (6.75, 7, 7.5, 8) (8.5)” / 16 (17, 18, 19, 20) (22) cm
Choosing a size: Select the size closet to your measurements.
Yarn: Sample uses DK weight angora/BFL blend (110m/50g). Any yarn that meets the gauge can be used.
Yardage: 40 (45, 45, 50, 60) (60) grams / 90 (100, 100, 110, 130) (130) metres / 96 (108, 108, 120, 144) (144) yards
Gauge: 22 sts and 30 rows per 4” / 10cm in stockinette.
Needles: 3.5mm circular and/or DPNs or needle size required to meet gauge.
Abbreviations:
k
K
p
Purl
sm
Slip marker
M1L
Make one left
M1R
Make one right
Sample info: The sample is size S knitted on 4.5mm needles using an angora/DK blend (110m/50g) and used approx. 40g for both mittens.
The Pattern:
Free Fingerless Mittens Pattern
Cast on 32 (38, 44, 50, 56) (60) sts using the tubular stockinette hem by Modern Daily Knitting or a 1x1 tubular cast on in the round.
If you are not keen on these methods use a different stretchy cast on technique and work one round in k1, p1 ribbing.
Place a stitch marker for the BOR.
Knit in stockinette in the round for 4” / 10 cm.
You may make the cuff longer or shorter, but consider the additional yardage required.
k 6 (6, 7, 8, 8) (9), place marker, knit until k 6 (6, 7, 8, 8) (9) before the BOR, place marker, knit to BOR.
1. Knit to next marker, sm, M1L, knit to next marker, M1R, sm, knit to BOR (+2 sts)
2. Knit 2 rounds
Place a removable clip-on marker on the first increase round to help you measure the length later.
Repeat steps 1 & 2 a further 5 (5, 6, 7, 7) (8) times until you have a total of 44 (50, 58, 66, 72) (78) sts, on the last round end at the second additional marker (the one before the BOR).
Place the next 12 (12, 14, 16, 16) (18) sts between the markers on a spare cable or waste yarn, remove the BOR marker.
Place a new BOR and continue knitting the remaining sts in stockinette in the round until your piece measures 4.75 (5, 5.25, 5.5, 5.75) (6.25)” / 12 (12, 13, 14, 15) (16) cm from the first increase.
k1, p1 ribbing for one round.
Bind off using an Italian bind off.
Thumb:
Pick up the 12 (12, 14, 16, 16) (18) thumb sts places on hold earlier plus an additional 2 sts in the opening to the hand, knit in stockinette in the round for 1 (1, 1.25, 1.25, 1.5) (1.5)” / 2.5 (2.5, 3, 3, 4) (4) cm.
k1, p1 ribbing for one round.
Bind off using an Italian bind off.
Repeat the instructions for the second mitten, weave in ends, using the yarn end at the thumb to close any visible gaps from the thumb pick up. Wash and block.