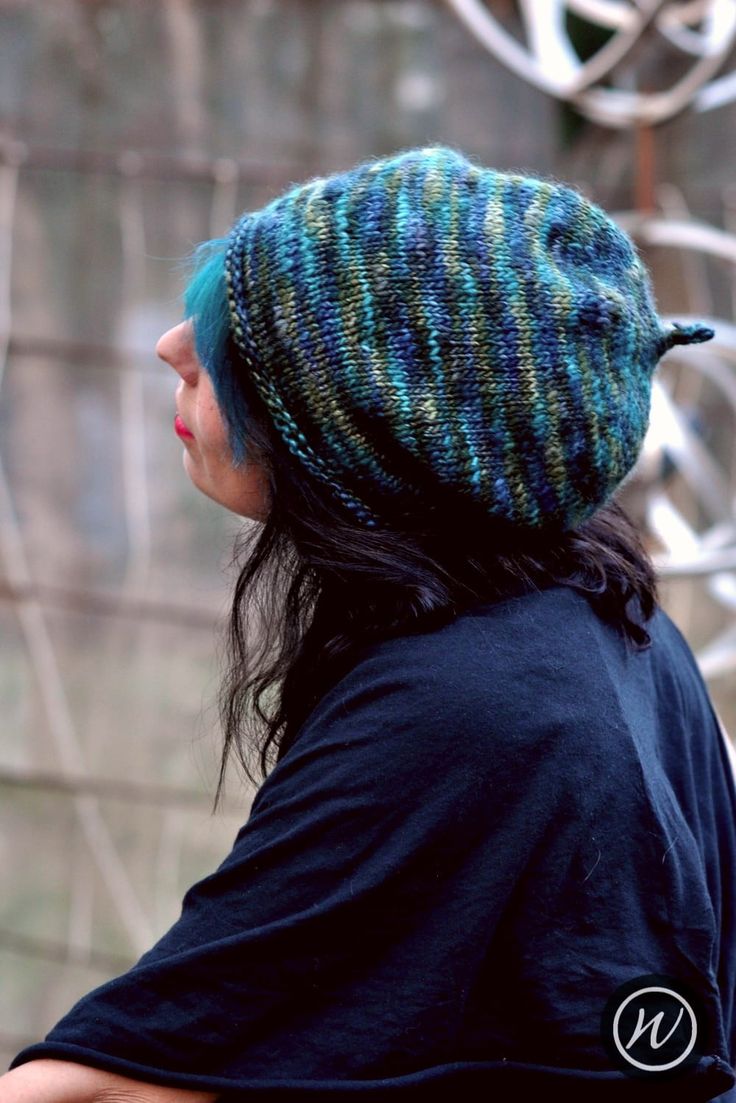
Knitted Slouch Hat
The knitted slouch hat is a stylish and cozy accessory that adds a fun touch to any outfit while keeping you warm and toasty. With its relaxed and laid-back vibe, this hat is perfect for those casual days when you just want to feel comfortable and look effortlessly cool. Whether you're running errands or meeting up with friends, the knitted slouch hat is a go-to choice for a touch of charm and warmth. So go ahead, throw on your favorite knitted slouch hat, kick back, and enjoy that laid-back and friendly style!
Yarn
- 107 [113, 130] yd/98 [103, 119] m
- 27yd/25m for a 6x6in/15x15cm swatch in St.St.
- Chunky weight, single ply yarn
Needles & Notions
- Set 5.5mm/UK5/US9 DPNs/Circular or size needed to obtain gauge
- Stitch marker as necessary
- Tapestry needle
Sample Details
Shown in Debbie Bliss Maya [137yd/125m per 100g; 100% Wool]
Shown in size 22in/56cm on model with 21.5in/54.5cm circumference head
Note
This pattern is ideal for beginning knitters, and is also a perfect showcase for your gorgeous hand-dyed and hand-spun yarns!
Pattern is worked top down and in the round.
Gauge
16 sts x 20 rows to 4in/10cm on 5.5mm needles over St.St.
Sizes
To fit size: 20 [22, 24] in/50.75 [56, 61] cm
Finished size: 18 [19.5, 21] in/45.75 [49.5, 53.25] cm
Skills Required
- Circular Cast-on
- Knitting in the round
- Increases and Decreases
- I-cords
- Draw-through Bind-off
- Blocking a Hand Knit Hat
Abbreviations
- K: knit
- rpt: repeat
- R/rnd(s): rounds
- st(s): stitch(es)
- M1: pick up the horizontal loop before the next stitch, place it onto the left needle & knit into the front of it
- k2tog: knit next 2 sts together
How To – I-cord version
Using your preferred method, cast on 3 sts
Work I-cord for 1in/2.5cm
Next Rnd: Knit into the front and back of each st [6sts]
Join in the round, taking care not to twist the sts.
Place stitch marker to indicate start of round.
Now work 2 rounds of Stocking Stitch.
How To – Plain Crown version
Using the Circular Cast-on method, cast on 6sts
Join in the round, taking care not to twist the sts.
Place stitch marker to indicate start of round.
Crown
Rnd 1: Knit all sts
Rnd 2: *K1, M1; rpt from * to end [12sts]
Rnd 3: Knit all sts
Rnd 4: *K2, M1; rpt from * to end [18sts]
Rnd 5: Knit all sts
Rnd 6: *K2, M1; rpt from * to end [27sts]
Rnd 7: Knit all sts
Rnd 8: *K3, M1; rpt from * to end [36sts]
Rnd 9: Knit all sts
Rnd 10: *K4, M1; rpt from * to end [45sts]
Rnd 11: Knit all sts
Rnd 12: *K5, M1; rpt from * to end [54sts]
Rnd 13: Knit all sts
Rnd 14: *K6, M1; rpt from * to end [63sts]
Rnd 15: Knit all sts
Rnd 16: *K7, M1; rpt from * to end [72sts]
Rnd 17: Knit all sts
Rnd 18: *K8, M1; rpt from * to end [81sts]
Rnd 19: Knit all sts
Rnd 20: *K9, M1; rpt from * to end [90sts]
20in & 22in sizes jump to Body section.
24in size only:
Rnd 21: knit all sts
Rnd 22: *K10, M1; rpt from * to end [99sts]
Body
Now work stocking stitch by knitting every round until the length of the Hat (excluding I-cord) measures 7.25 [7.5, 8] in/18.5 [19, 20] cm
Rnd 1: *K8 [8, 9], K2tog; rpt from * to end [81, 81, 90] sts
Rnd 2: knit all sts
Rnd 3: *K7 [25, 13], K2tog; rpt from * to end [72, 78, 84] sts
Brim
Now work stocking stitch by knitting every round until Brim measures 3in/7.5cm, from last decrease round.
Using a larger needle, bind off loosely.
Finishing
Weave in all ends.
Blocking isn’t necessary although it will help the shaping settle. If required, gently wash with a wool friendly detergent and then dry flat. Avoid over stretching the brim.