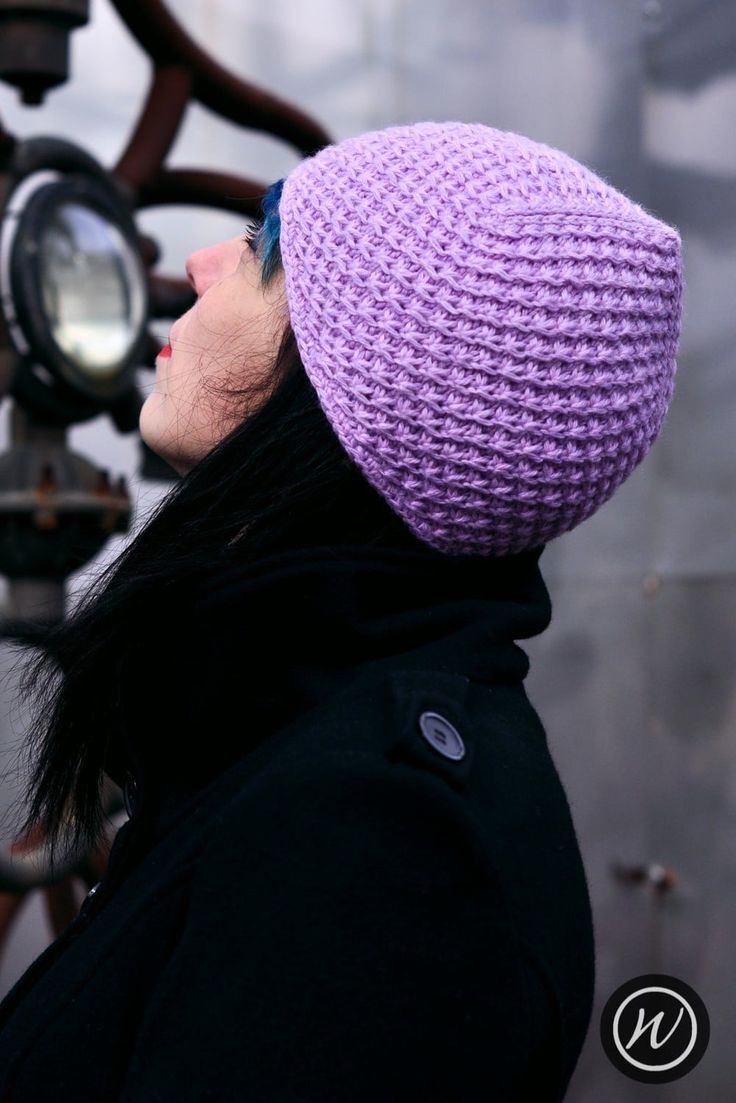
Knitted Star Beanie
The Knitted Star Beanie is not just your ordinary winter accessory; it's a cozy hug for your head on chilly days! With its charming star design and soft, warm material, you'll feel like a trendy winter wizard rocking this beanie. Not only does it keep you stylishly snug, but it also adds a touch of whimsy to any outfit. So go ahead, embrace the cold weather with this delightful beanie and shine like the star you are!
Yarn
95 [117, 141, 167] yd/87 [107, 129, 153] m
31yd/29m for a 6x6in/15x15cm swatch in St.St.
Worsted weight, plied yarn
Needles & Notions
Set 4mm/UK8/US6 DPNs/Circular or size needed to obtain gauge
Stitch marker as necessary
Tapestry needle
Sample Details
Rowan Pure Wool Worsted [219yd/200m per 100g; 100% Wool]
Shown in size 21in/53.25cm on model with 21.5in/54.5cm circumference head
Note
Sharp points are recommended for working the Star Stitch. When working the Star Stitch, don’t work on the tips of your needles – push the needles as far into the stitches as you can, to help you work the extra stitches with ease.
Gauge
20 sts x 28 rows to 4in/10cm on 4mm needles over St.St.
24 sts x 25 rows to 4in/10cm on 4mm needles over stitch pattern
Sizes
To fit size: 17 [19, 21, 23] in/43.25 [48.25, 53.25, 58.5] cm
Finished size: 14 [16, 18, 20] in/35.5 [40.5, 45.5, 50.5] cm
Skills Required
Cable Cast-on
Knitting in the round
Increases and Decreases
Draw-through Bind-off
Blocking a Hand Knit Hat
Abbreviations
K: knit
rpt: repeat
R/rnd(s): rounds
st(s): stitch(es)
k2tog: knit next 2 sts together
SSK: slip next 2 sts knitwise, then knit these 2 sts together through the backs of the loops
MS: Make Star: knit next 3 sts together but leave them on the needle, wrap yarn completely around needle to make another stitch, then knit same 3 sts together again
How To
Using Cable Cast-on method cast on 84 [96, 108, 120] sts. Join in the round, being careful not to twist sts. Place stitch marker to indicate start of round.
Body
Rnd 1: *MS, K1; rpt from * to end
Rnd 2: Knit all sts. At the end of the round, remove stitch marker, slip 2 sts purl-wise and replace stitch marker.
Note: on every plain round the beginning of the round will move by 2sts. This creates a spiral that hides the join.
These 2 rounds form the pattern for the main Body. Work in pattern until the Body of the Hat measures approximately 4.25 [4.5, 4.75, 5] in/10.75 [11.5, 12, 12.75] cm (or desired length), ending after a Rnd 1.
Crown
Crown Preparation Rnd: remove stitch marker, slip 2sts purl-wise and replace stitch marker (marker moved forward by 2 sts) then *K 26 (30, 34, 38), k2tog; rpt from * to end [81, 93, 105, 117 sts]
17in size jump to Rnd 7, 19in size jump to Rnd 5, 21in size jump to Rnd 3, 23in size start at Rnd 1
Rnd 1: *ssk, [MS, K1] 8 times, MS, k2tog ; rpt from * to end [111 sts]
Rnd 2: *ssk, K33, k2tog; rpt from * to end [105 sts]
Rnd 3: *ssk, [MS, K1] 7 times, MS, k2tog; rpt from * to end [99 sts]
Rnd 4: *ssk, K29, k2tog; rpt from * to end [93 sts]
Rnd 5: *ssk, [MS, K1] 6 times, MS, k2tog; rpt from * to end [87 sts]
Rnd 6: *ssk, K25, k2tog; rpt from * to end [81 sts]
Rnd 7: *ssk, [MS, K1] 5 times, MS, k2tog; rpt from * to end [75 sts]
Rnd 8: *ssk, K21, k2tog; rpt from * to end [69 sts]
Rnd 9: *ssk, [MS, K1] 4 times, MS, k2tog; rpt from * to end [63 sts]
Rnd 10: *ssk, K17, k2tog; rpt from * to end [57 sts]
Rnd 11: *ssk, [MS, K1] 3 times, MS, k2tog; rpt from * to end [51 sts]
Rnd 12: *ssk, K13, k2tog; rpt from * to end [45 sts]
Rnd 13: *ssk, [MS, K1] 2 times, MS, k2tog; rpt from * to end [39 sts]
Rnd 14: *ssk, K9, k2tog; rpt from * to end [33 sts]
Rnd 15: *ssk, MS, K1, MS, k2tog; rpt from * to end [27 sts]
Rnd 16: *ssk, K5, k2tog; rpt from * to end [21 sts]
Rnd 17: *ssk, MS, k2tog; rpt from * to end [15 sts]
Rnd 16: *ssk, K1, k2tog; rpt from * to end [9 sts]
Break yarn and thread through remaining 9sts and tighten to close.
Finishing
Weave in all ends. A gentle wash and blocking is required to help the decrease lines settle in and lay flat.