Knitted Iris Headband
The Knitted Iris Headband is a charming accessory that adds a touch of elegance to any outfit. Its intricate knit design not only keeps your ears warm but also stylishly frames your face. The soft yarn used in its creation ensures a cozy and comfortable fit, making it perfect for chilly days or accessorizing your look. Whether you're running errands or meeting friends for a coffee, this headband is a versatile addition to your wardrobe that effortlessly elevates your style. Treat yourself to the Knitted Iris Headband and embrace the warmth and beauty it brings to your day!
Supplies
To knit this headband you will need the following supplies:
- Yarn: ~40g (1.4 oz) medium weight yarn (category #4). I used Drops Big Merino in the color jeans blue (07). It’s 100% merino wool. If you don’t have the mentioned yarn at hand, here are similar yarn options:
- Debbie Bliss Rialto Aran
- LANA GROSSA Bingo
- MILLAMIA Naturally Soft Aran
- Needles: 5mm (US8) knitting needles.
- Cable needle (optional, if you don’t have a cable needle, you can substitute it with a double-pointed needle or a large enough safety pin)
- Tapestry needle
- Scissors
Abbreviations
CO – cast on
St (s) – stitch (es)
K – knit
P – purl
C2B – Slip 1 stitch onto cable needle and leave at back of work. Knit the next stitch, then knit the stitch from the cable needle.
C2F – Slip 1 stitch onto cable needle and leave at front of work. Knit the next stitch, then knit the stitch from the cable needle.
Sl wyif – slip st purlwise with yarn in front
Sl wyib – slip st purlwise with yarn in back
* * – repeat from * to * until the end of the row or the stated amount of times
HEADBAND KNITTING PATTERN
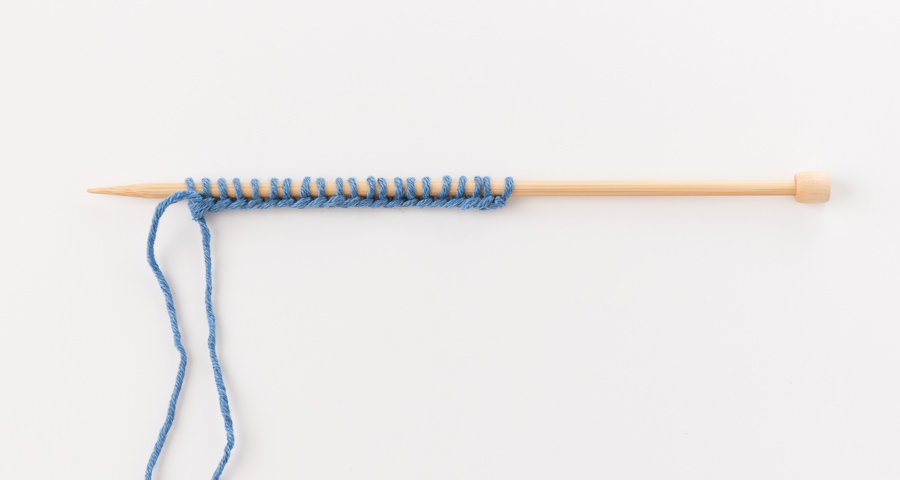
Cast on
CO on 21 sts using the Long-tail cast-on method or the one you prefer.
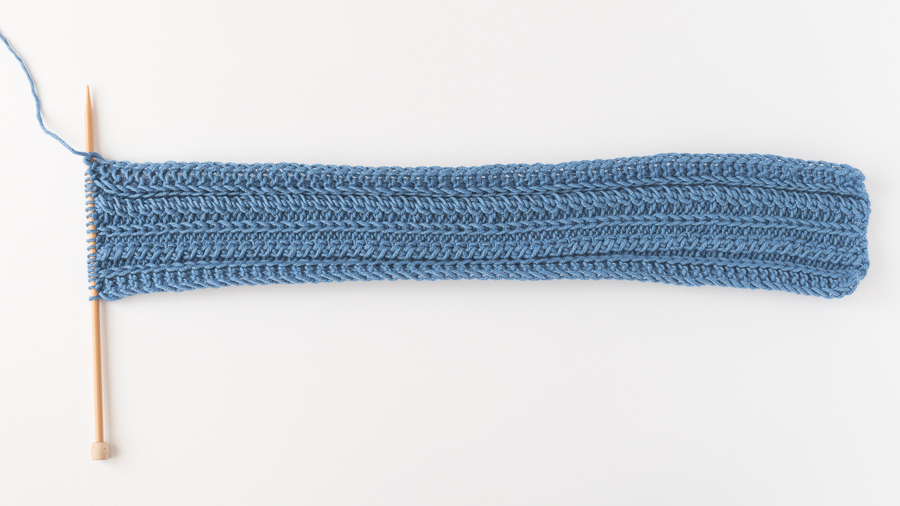
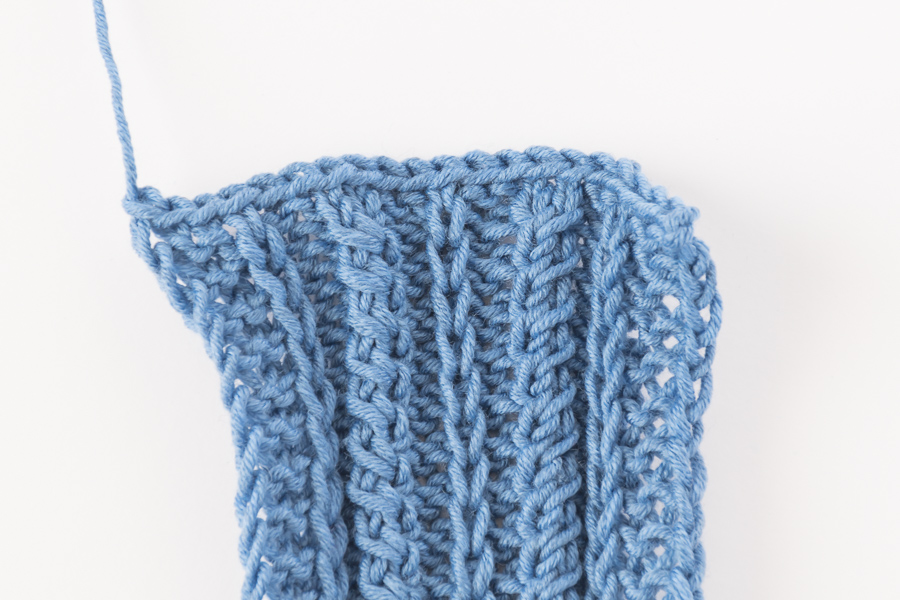
Headband
Row 1: Sl wyif, K2, Sl wyib, P2, C2B, P2, Sl wyib, P2, C2F, P2, Sl wyib, K3.
Row 2: Sl wyif, *K2, P1, K2, P2*x2, K2, P1, K3.
Repeat rows 1 and 2 until the piece measures ~50 cm (19.5″) or your desired length.
Bind off
Bind off sts in pattern (knit over knit stitches, purl over purl stitches).
Step 1: Work 2, bring the first st over the second one.
Step 2: Work the next st, bring the first st over the second one.
Repeat step 2 until you have 1 stitch left, cut the yarn leaving a 30-40cm / 12″ – 16” tail to seam the headband. Draw the yarn tail through the last stitch and pull it snug.
Twist
Step 1: With the right side facing you, bring the shorter edges closer together and fold each edge in half so they look like a “V”.

Step 2: Now insert one edge into another. Make sure, that the yarn tail is on the outside, and not in between the layers.

Step 3: Stitch through all 4 layers of knit fabric back and forth.

Finishing
Weave in all loose ends, and turn the headband the right side out.
I always advise wet blocking the finished item, this process transforms the stitches, making them look smoother and neater.
Simply soak the knitted item in lukewarm water with some soak wash for 10-15 minutes. Lift it from the water and gently squeeze the excess water out. Next, lay it on a clean towel, and roll it up to remove moisture.
Pin the item to a blocking board or lay it on a clean and dry towel (make sure it doesn’t transfer color) and let it dry. Your knitting will look much better after this.